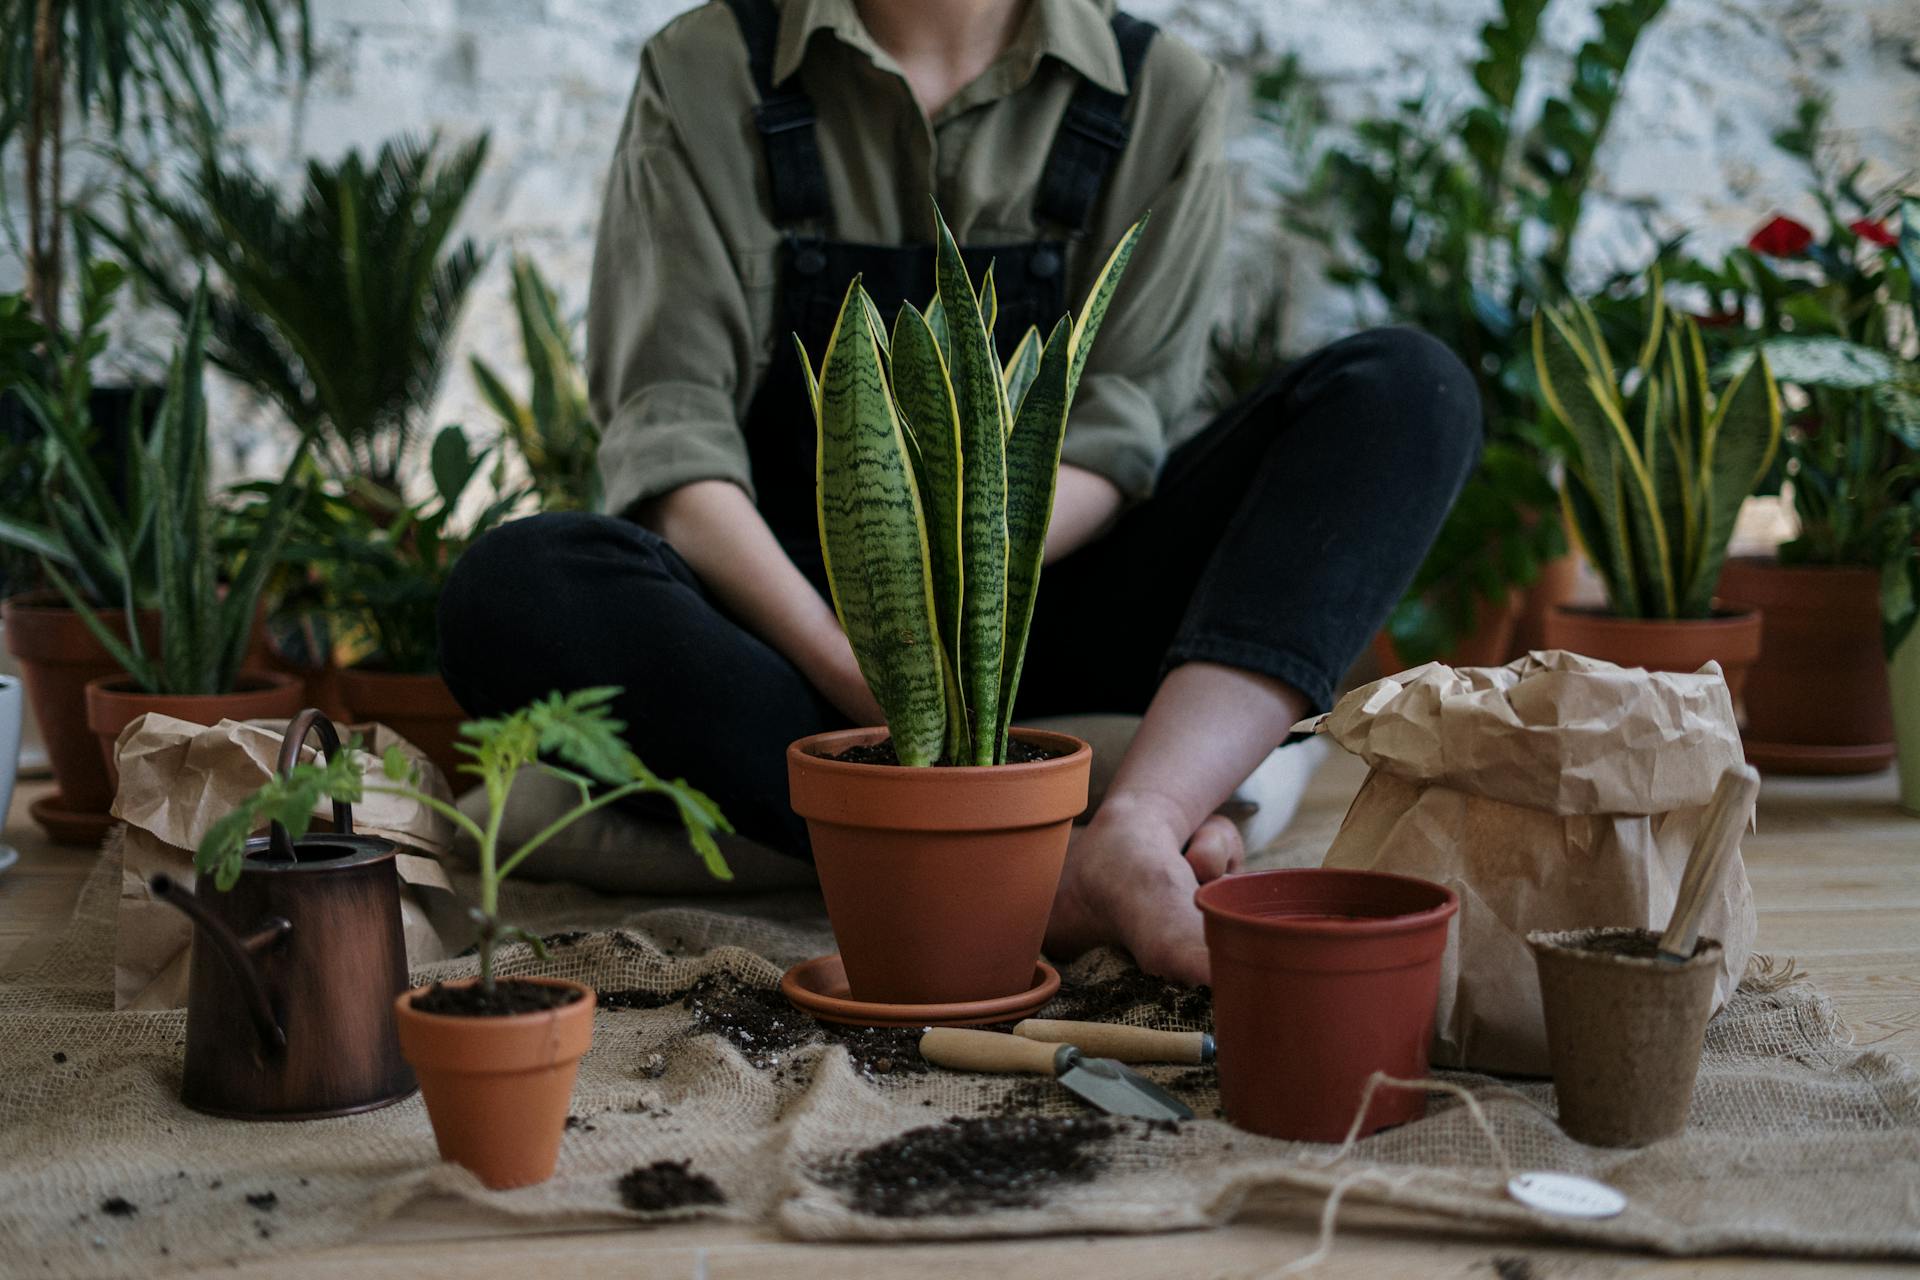
You've successfully propagated your succulents - congratulations! Now comes the exciting part: giving those tiny plants their forever homes. I'll guide you through the process of planting your propagated succulents, sharing tips I've learned from years of experience.
What We'll Cover:
When to Plant Your Propagated Succulents
Timing is crucial for successful planting. Here are the signs that your propagated succulent is ready for its own pot:
Ready-to-Plant Checklist:
- Strong root system developed
- New leaves are growing
- Mother leaf has dried up (for leaf propagation)
- Plant is at least 1 inch in size

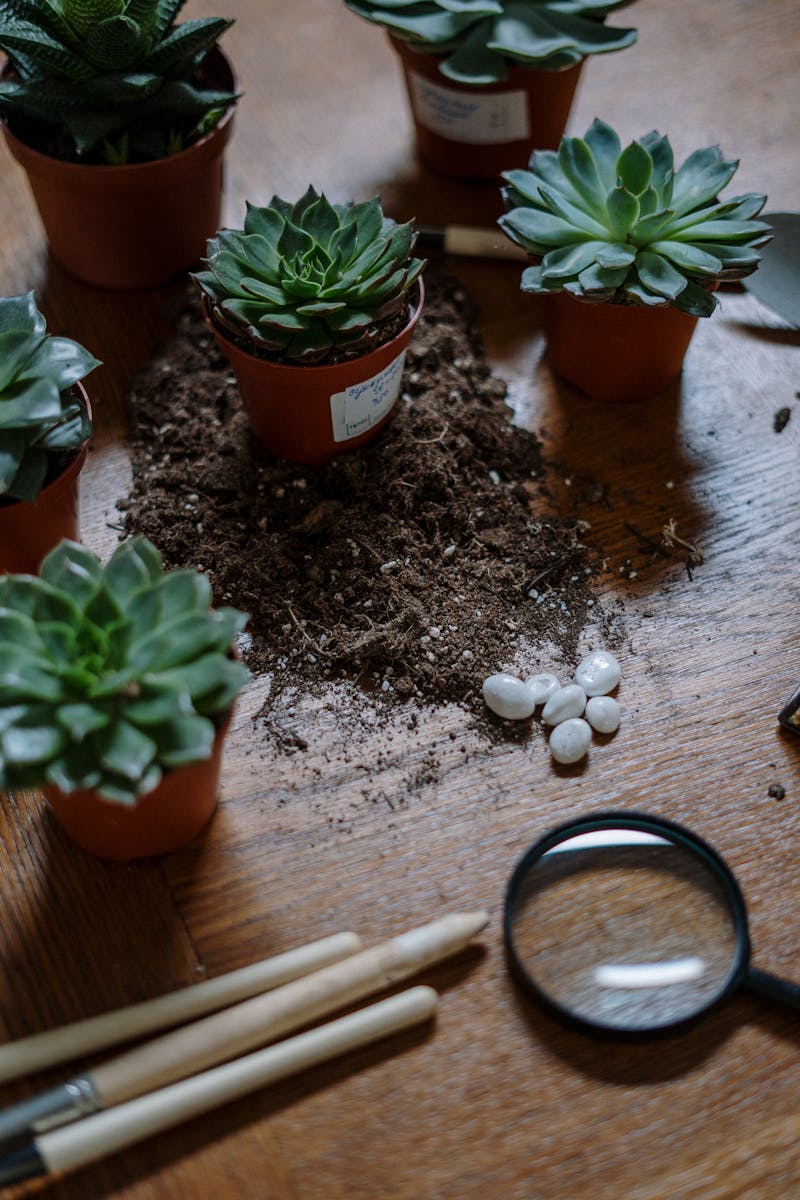
Preparing for Planting Success
Essential Supplies:
To ensure successful planting, gather these essential items. I recommend using a complete succulent planting tool kit for precise and professional results. For your propagated plants, you'll need:
- High-quality peat-free houseplant potting mix
- Beautiful ceramic pots with bamboo trays for drainage
- Natural polished pebbles for drainage and decoration
- An indoor & outdoor soil moisture meter to monitor water needs
Choosing the right pot size is crucial. Use our pot calculator to find the perfect size - typically just slightly larger than the root system.
Soil Mix Recipe:
- 50% regular potting soil
- 25% coarse sand or fine gravel
- 25% perlite or pumice
Choosing the Right Soil Mix
Young succulents need well-draining soil even more than mature plants. Here's my recommended mix:
- 1 part cactus/succulent soil
- 1 part perlite or pumice
- 1 part coarse sand
- Optional: small gravel for top dressing
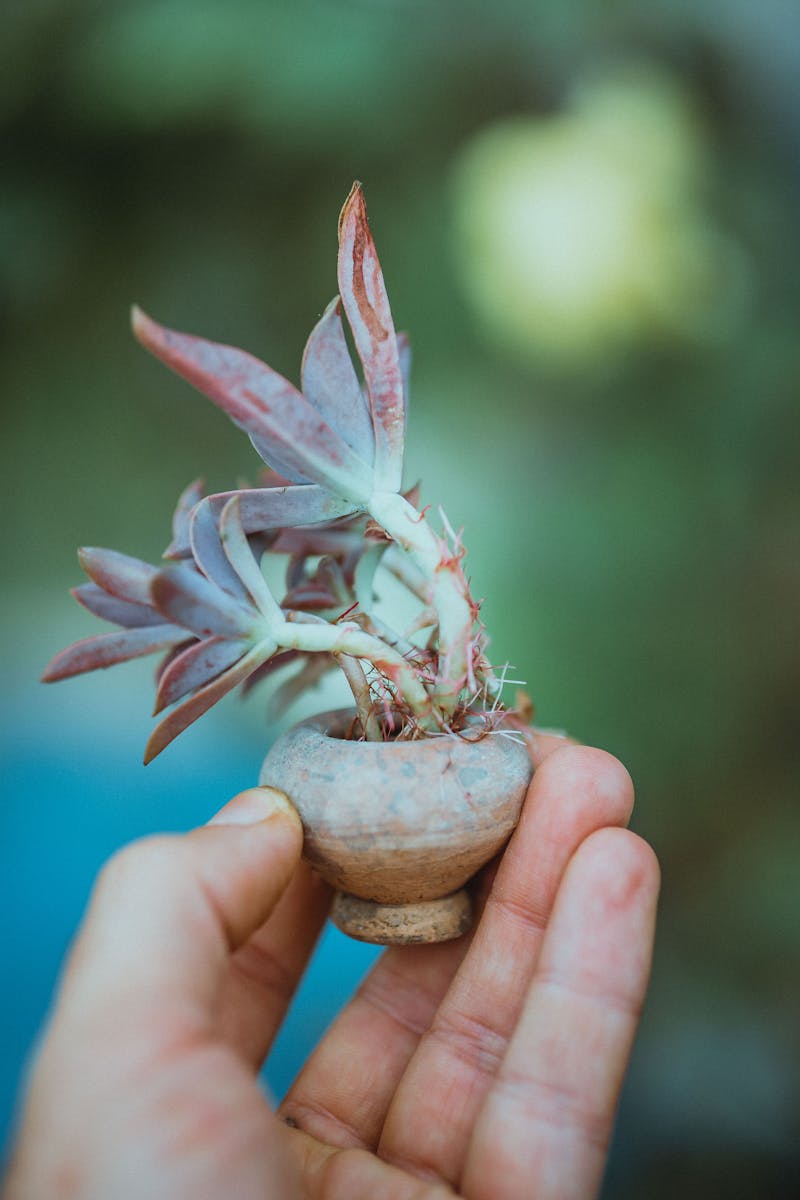
The Planting Process
Step-by-Step Guide:
- Fill pot with drainage material (about 1/4 inch)
- Add prepared soil mix, leaving room for roots
- Make a small hole in the center
- Carefully position the plant, spreading roots
- Add soil around roots, firming gently
- Leave stem base slightly above soil level
- Add decorative top dressing if desired
Initial Care for Newly Planted Succulents
First Month Care Guide:
- Place in bright, indirect light
- Wait one week before first watering
- Water sparingly around the roots
- Protect from extreme temperatures
- Monitor for any stress signs
Common Problems and Solutions
Signs of Trouble:
- Yellowing leaves: Usually indicates overwatering. Let soil dry completely between waterings.
- Wrinkled leaves: Could mean underwatering or root issues. Check soil moisture and root health.
- Leaning or falling over: May need deeper planting or more light. Adjust gradually.
- No new growth: Normal during adjustment period. Ensure proper light and temperature.
Common Questions About Planting Propagated Succulents
Can I plant multiple propagations in one pot?
Yes, but ensure each plant has enough space to grow. Consider their mature size and growth patterns when spacing them.
How deep should I plant my succulent?
Plant just deep enough to cover the roots and keep the plant stable. The stem base should sit slightly above soil level to prevent rot.
When can I start treating it like my other succulents?
After about a month of stable growth, you can gradually transition to normal care routines. Watch the plant's response and adjust accordingly.
Should I fertilize after planting?
Wait at least a month before fertilizing. Young plants are sensitive and need time to establish their root systems first.
Remember, every succulent is unique, and what works for one might not work for another. Pay attention to your plant's signals and adjust care accordingly. With proper planting and initial care, your propagated succulents will grow into beautiful, healthy plants.